

RPW-041 Single Spring
RPW-041 Single Spring
Overview
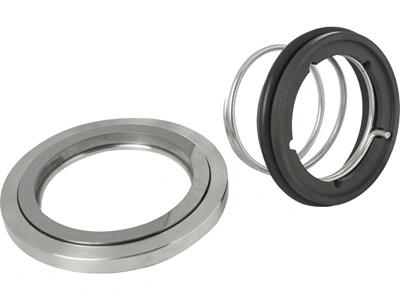
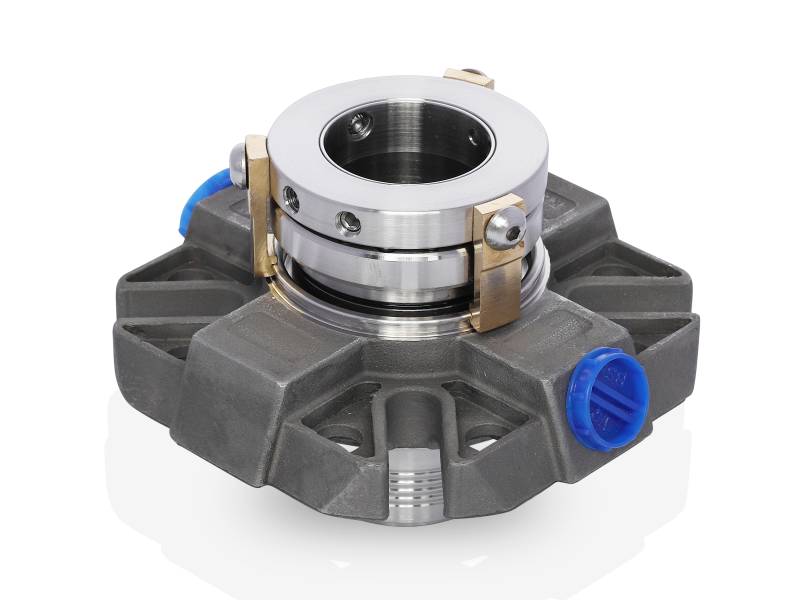
The RPW-041 is a SINGLE COIL SPRING SEAL SUITABLE FOR ALFA LAVAL ALC2 PUMPS.
Internal Wet Seal, Monolithic Rotary Head, O-Ring Unbalanced, Single Spring, Shrink fitted Stationary, Alfa Laval Pump Model ALC2.
Product Description
Technical Specifications
| Seal Shaft Sizes | 42mm |
| Inboard Seal Face Combination | Car/TC and Car/SiC |
| Elastomers | Viton, ERP |
| Shaft Speeds | Up to 10 m/s |
| Pressures | Up to 5 barg (72 psig) – Shaft Size Specific |
Typical Applications & Industry Use Cases
The RPW-041 is a single-spring, internal-wet mechanical seal designed for general-purpose fluid services. Its simple, reliable construction makes it well-suited to clean to moderately clean fluids, moderate temperatures and pressures, and standard rotating-shaft duties. The design helps ensure consistent face loading, ease of installation, and dependable performance in a broad range of common pump applications.
Industries Served

Water and utility sectors
clean water distribution, service water circulation, HVAC systems.

General industrial fluid transfer
tanks, booster pumps, and circulation systems handling non-aggressive liquids.

Light chemical processing
where fluids are compatible with seal materials and service conditions are not severe.

OEM and maintenance/retrofit services
for pumps requiring quick, low-complexity seal replacement.

Food, beverage, or sanitary systems
where appropriate elastomer and face materials are selected for fluid compatibility.
Equipment & Use-Case Scenarios
- Centrifugal and horizontal pumps that operate with relatively clean liquids and where severe duty features (abrasive solids, high pressures, high temperatures) are not present.
- Systems where compact seal design and minimal gland space are priorities, enabling simple integration with existing equipment housings.
- Applications with moderate shaft speeds and steady operating profiles, where routine maintenance intervals are planned.
- Pumps that benefit from straightforward installation and reduced maintenance time compared with more complex or heavy-duty seal configurations.
Why It Fits These Applications
- The single-spring mechanism delivers smooth, consistent face loading with a minimal number of moving parts, reducing the risk of installation errors and simplifying service.
- Its compact internal design makes it ideal for pumps with limited stuffing box space or constrained seal chambers.
- The design is forgiving of typical variations in operating conditions within its rated limits, providing reliable sealing in non-extreme service.
- Cost-effective and easy to replace, RPW-041 is a practical choice for plants where sealing reliability and maintenance simplicity are key operational drivers.
Installation Guidelines
Prepare the shaft and seal chamber
Ensure the shaft and seal chamber bore (or gland face) are clean, dry, and free of corrosion, scoring, or debris. Proper surface condition is essential for effective sealing.
Mount the seal correctly
Slide the RPW-041 onto the shaft or into the gland carefully. Avoid forcing the unit or deforming elastomer components during installation.
Align and secure
Position the seal evenly and engage any set-screw or drive features per specification. Confirm that the seal faces are aligned and that the gland or clamp is tightened uniformly.
Initial start-up check
After installation, run the pump at low speed. Observe for leakage, unusual noise, vibration, or heat build-up at the seal area before advancing to full operating conditions.
Maintenance & Inspection Best Practices
-
Scheduled inspections
During shutdowns or maintenance windows, inspect seal faces for wear, scoring, or cracking, and check elastomer elements (O-rings/gaskets) for hardening, swelling, or degradation. -
Monitor operating behavior
Track pump performance for signs of seal wear — unusual leakage, temperature rise, vibration, or performance shifts may indicate the need for inspection or replacement. -
Maintain fluid cleanliness
Even in clean services, fluid contamination with solids or debris accelerates face wear. Use appropriate filtration upstream where feasible. -
Log operating conditions
Record fluid type, pressure, temperature, run hours, start/stop cycle,s and any anomalies. This helps refine maintenance intervals and anticipate component wear. -
Timely part replacement
Proactively replace O-rings and other elastomer parts, and address any signs of wear before failure, to avoid emergency downtime.
Service & Support Options
-
Specification review
Ensure fluid compatibility and operating conditions (pressure, temperature, shaft speed) align with RPW-041’s design limits to maximise life and reliability. -
Spare parts kits
Stock replacement seal faces, elastomer parts, and drive components to reduce downtime during maintenance. -
Installation assistance
Guidance on proper alignment and secure mounting helps prevent common installation issues that lead to premature seal wear. -
Preventive maintenance planning
Use condition tracking and periodic reviews to plan maintenance and extend the mean time between interventions. -
Upgrade guidance
If operating conditions become more demanding (higher pressures, abrasive fluids, elevated temperatures), evaluate whether a more robust seal type (multi-spring, cartridge, bellows, dual seal) is appropriate for long-term performance.
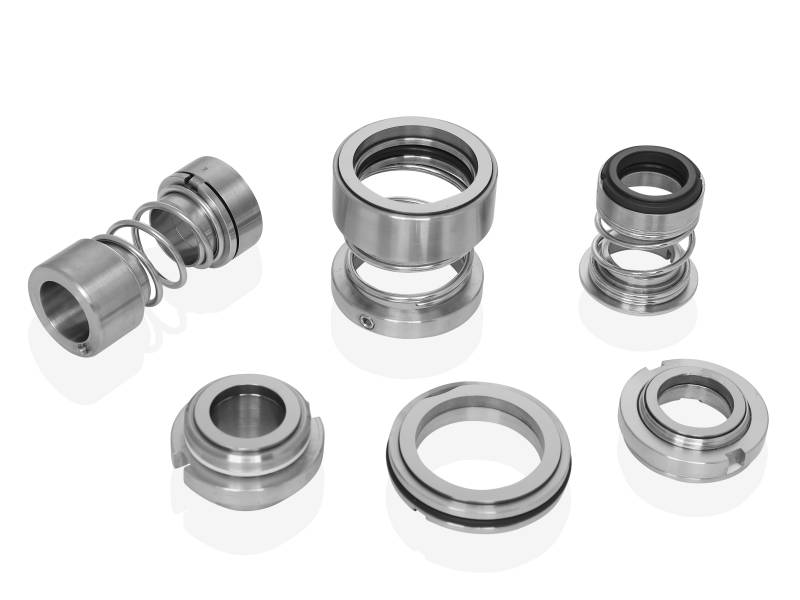
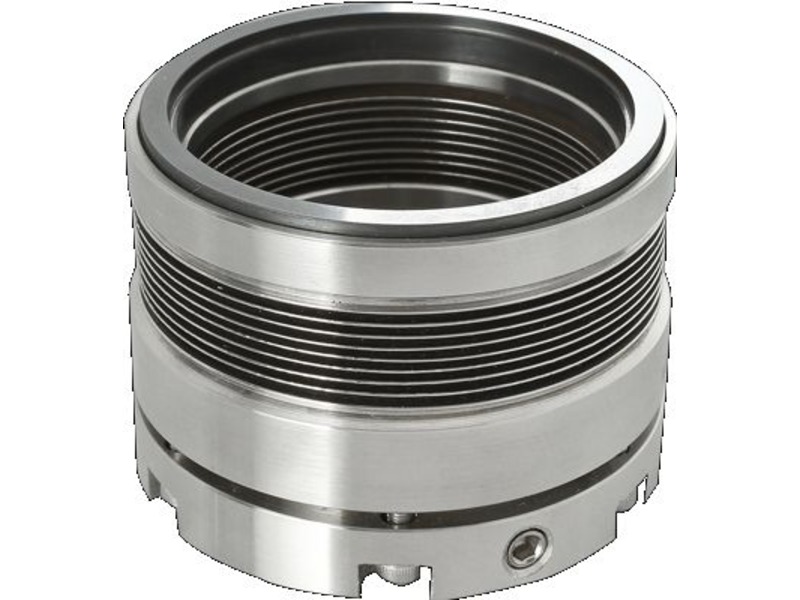
Related Products
Contact HydroMax Seal
Contact HydroMax Seal today for innovative solutions, expert guidance, and over a century of engineering excellence. Your journey to mechanical sealing excellence starts with HydroMax Seal!
E-Mail: sales@hydromaxseal.com
Address: 18511 Beaumont Hwy Building D
Houston, TX
77049